Football Manager 2012 (FM12) offers an immersive experience for soccer enthusiasts. From managing team tactics to creating custom kits, the game allows players to personalize their gameplay like no other. But one frustration often arises for players who enjoy customizing uniforms—the licensed 3D kits included in the game often overwrite custom designs during matches.
This guide provides step-by-step instructions on how to remove licensed 3D kits in FM12, making space for your unique creations. By the end, you’ll have the tools to showcase your personalized kits and enhance your gameplay experience.
What Are Licensed 3D Kits in FM12, and Why Remove Them?
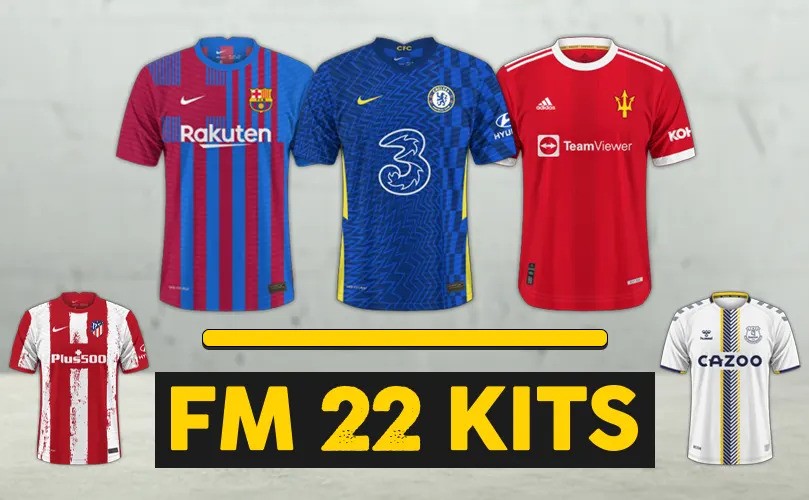
Licensed 3D kits are official team uniforms integrated into FM12’s match engine. While these designs add realism to the game, they come with limitations for customization enthusiasts. For some leagues, these licensed kits override any custom designs you create, preventing them from appearing in matches.
Why Remove Them?
- Creative Freedom: Replace default kits with unique, personalized designs.
- Enhanced Immersion: Align kits with fantasy teams or lower leagues to boost realism.
- Community Recognition: Share your designs with other FM12 players online and gain recognition in forums and communities.
Preparation Before Removing Licensed 3D Kits
Before you get started, ensure you’re equipped with the right tools and take precautions to avoid errors.
Tools You’ll Need:
- Resource Archiver: This official tool from Sports Interactive helps extract and repackage FM graphics files.
- Pro Tip: Download it from the official Football Manager website or forums.
- File Editor (e.g., Notepad++): For editing configuration files if needed.
- Custom Graphics: Websites like SortItOutSI.net or FM Base provide 3D kit templates and designs to use once you remove the licensed kits.
Backup Your Files
Always back up your original FM12 files to ensure you can restore the game if something goes wrong. Here’s how:
- Navigate to your FM12 installation folder.
- Copy the `graphics.fmf` file and save it in a separate folder.
- Label backups clearly to avoid confusion.
This step ensures that you can revert any changes if needed.
Organize Files
Create a structured folder system before making changes:
- /Graphics/Original Kits
- /Graphics/Modified Kits
This organization will simplify troubleshooting and make it easier to overwrite files properly.
How to Remove Licensed 3D Kits in FM12
Follow these five steps to remove licensed kits and enjoy your custom 3D designs.
Step 1: Locate the Graphics File
All kit data in FM12 is stored in the `graphics.fmf` file. Here’s how to find it:
- Windows
- Open File Explorer and head to:
`C:\Program Files (x86)\Steam\steamapps\common\football manager 2012\data\`.
- Mac
- Use Finder and locate the FM12 app package. Navigate to:
`Contents\Resources\data\`.
If you’re using a newer version of FM12 with updates, check for graphic files in the `update` subfolder.
Step 2: Extract Kit Files
Now, use the Resource Archiver to extract the `graphics.fmf` file:
- Open the Resource Archiver.
- Select the `graphics.fmf` file.
- Choose a location to extract the contents (e.g., `/Graphics/Extracted Files`) and wait for the extraction to complete.
Once done, you’ll have access to individual kit files to modify.
Step 3: Delete Licensed Kits
Next, identify and remove the licensed kits:
- Open the extracted graphics folder and go to `/kits/3D`.
- Look for the licensed kits you wish to remove. These are typically labeled by league or team names (e.g., `premier_league.png`).
- Delete the specific PNG files for the kits you no longer want.
Warning: Be cautious not to delete unrelated graphic files, as this could cause display errors in the game.
Step 4: Repack and Replace
Once the licensed kits are removed, you’ll need to repackage the modified files:
- Open the Resource Archiver again.
- Select the folder containing your modified kits.
- Create a new `graphics.fmf` file.
- Replace the old `graphics.fmf` file in the FM12 data directory with the newly repackaged file.
Step 5: Update FM12 Preferences
Finally, update your game settings to reflect the changes:
- Open FM12 and go to “Preferences.”
- Enable Always Reload Skin and disable Use Skin Cache.
- Clear the cache and reload the skin.
You should now see your custom kits in the match engine!
Common Troubleshooting Issues with Custom Kits
Issue 1: Custom Kits Don’t Show Up
Solution: Check that your files are saved in the correct directory with proper naming conventions.
Issue 2: Generic Kits Appear Instead
Solution: Be sure to clear the cache and reload the skin in FM12.
Issue 3: Some Kits Don’t Update
Solution: Verify that configuration files are correctly edited and that you’ve created separate config files for different leagues or teams.
Taking Customization Further
Want to push your creativity even further?
- Use tools like `Photoshop` or `GIMP` to design entirely unique kits.
- Explore FM graphics communities for inspiration and free downloads like SortItOutSI or Reddit’s FM community.
- Customize beyond kits by changing player appearances, logo packs, or even stadium graphics.
Benefits of Custom Kits in FM12
- Personal Satisfaction: See your designs come to life during matches.
- Enhanced Gameplay: Create immersive and realistic experiences for lower leagues or fictional teams.
- Community Recognition: Share your work with other FM12 players and gain feedback or admiration.
Final Thoughts
Removing licensed 3D kits in FM12 is an excellent way to unlock creative freedom and elevate your gaming experience. This guide is designed to help you achieve just that—transforming your matches into a showcase of personalized designs.
Have your own epic kit designs? Share them with the FM12 community on forums or social media and inspire others to customize their game too!


