


A broken van shutter can be both inconvenient and risky. It leaves your van and its contents exposed to potential theft, weather damage, and further deterioration. While waiting to get a permanent fix, a temporary cover can protect your belongings and provide peace of mind. This DIY guide will walk you through how to temporarily cover a broken van shutter using readily available and cost-effective materials.
Whether you’re preparing for a short-term fix or a longer road trip, this article offers practical solutions to safeguard your van until it’s properly repaired.
What is the Best Way to Temporarily Cover a Broken Van Shutter?
The most important factors to consider when covering a broken van shutter are durability, visibility, and ease of installation. Your solution should withstand the elements while being safe for driving. The steps and materials outlined in this guide will help you achieve just that.
A heavy-duty plastic sheet paired with duct tape or bungee cords is one of the most effective temporary fixes. It strikes the perfect balance between durability and simplicity, making it easy for you to install without prior experience.
Why You Should Address a Broken Van Shutter Immediately
A broken van shutter might seem like a minor inconvenience at first, but delaying the fix can lead to several issues, such as:
1. Risk of Theft or Vandalism
A damaged shutter makes your van an easy target for opportunistic thieves or vandals. Valuables or equipment inside the van are at high risk without adequate protection.
2. Exposure to Weather
Rain, snow, or even sunlight can quickly damage the interior of your van, including upholstery, electronics, and stored items. A temporary cover can protect everything inside.
3. Additional Structural Damage
Exposing the van’s shutter framework to external elements can lead to rust, warping, or even damage to the mechanics of the shutter.
By addressing the issue quickly with a reliable temporary cover, you’re not only protecting your valuables but also ensuring the van’s longevity.
Materials You’ll Need
To get started, gather the following materials, most of which can be found at home or your local hardware store:
- Heavy-duty plastic sheeting or tarp (ideal for protection and visibility)
- Duct tape or masking tape (for securing the cover firmly to your van)
- Scissors or a utility knife (to trim the material to the right size)
- Foam padding or soft cloth (optional but useful for avoiding scratches on the van’s paint)
- Bungee cords or clamps (for added reinforcement, especially for long drives)
These materials are versatile, affordable, and easy to handle.
Step-by-Step Guide to Covering a Broken Van Shutter
Step 1: Gather Your Materials
Make sure you have all the required materials within reach. Having everything ready beforehand will make the process quicker and smoother.
Step 2: Clear Debris & Assess the Damage
- Remove any loose pieces of the broken shutter. Do this carefully to avoid injury.
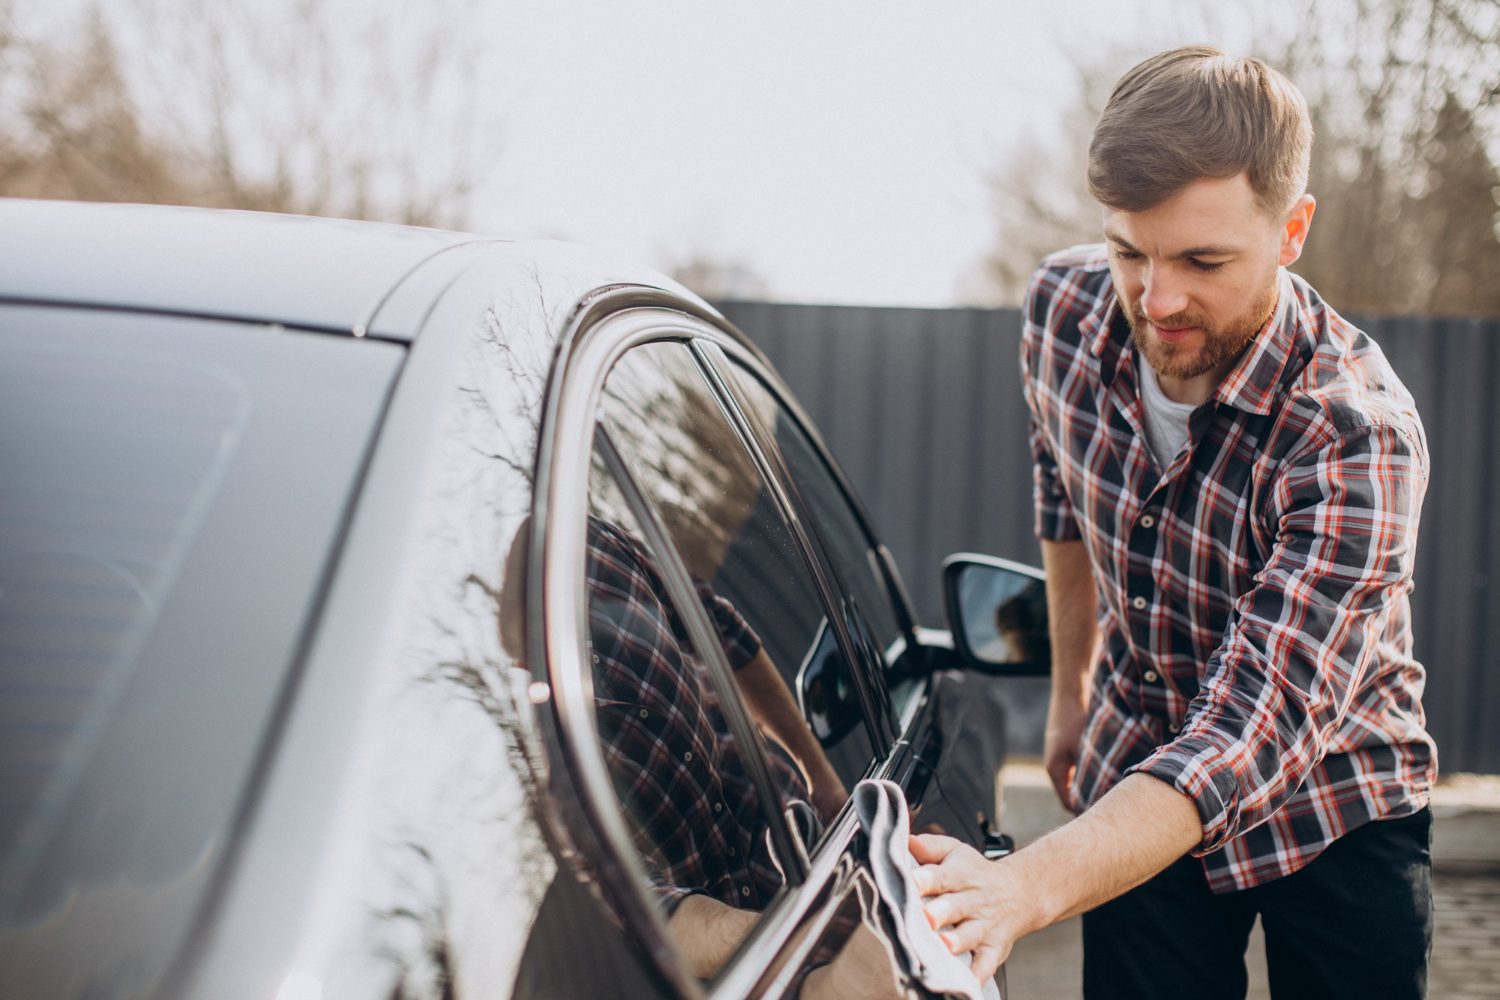
- Clean the area around the damaged shutter using a soft cloth to remove dirt, dust, or adhesive residue. This step ensures the tape will stick properly.
Step 3: Measure the Broken Opening
- Use a tape measure to determine the dimensions of the open area.
- For added security, add 1–2 extra inches around the edges when cutting the material to account for taping.
Step 4: Prepare the Plastic Cover
- Cut the heavy-duty plastic sheeting or tarp to match the measured dimensions.
- Reinforce the edges of the plastic by folding and taping them to make the cover sturdier and more resistant to tearing.
Step 5: Secure the Plastic Sheeting
- Begin by taping one side of the plastic sheet to the van, ensuring it’s straight.
- Smooth the material as you tape it around the edges to remove air gaps and prevent flapping.
- Use layers of overlapping duct tape for stronger adhesion and better sealing.
Step 6 (Optional): Reinforce the Cover
- Use foam padding or soft cloth on the tape’s edges to protect the van’s paint.
- For added security (especially if you plan to drive), use bungee cords or clamps to secure the plastic further.
Additional Fixes for Extreme Weather
- If rain or snow is expected, layer weatherproof material like a tarp on top of the plastic sheeting for added protection.
- For privacy when storing belongings, use thick, opaque materials, or add an inner layer to block visibility.
Tips for Driving with a Temporary Cover
Driving with a temporary fix can be tricky. Follow these safety tips to minimize risks and maintain the cover’s integrity:
- Drive Carefully: Keep your speed low to reduce wind resistance that might loosen the cover.
- Avoid Highways: Stick to local roads where speed limits are lower.
- Check Regularly: Stop and inspect the cover periodically during long drives to ensure it’s still secure.
These precautions will prevent the temporary cover from becoming dislodged, ensuring both your safety and the safety of others on the road.
Why a Temporary Fix Won’t Replace a Permanent Repair
While a temporary cover is effective for short-term use, it’s not a long-term solution. Here’s why you should get a permanent repair as soon as possible:
- Safety: Without a proper fix, the shutter can compromise your van’s security and structural integrity.
- Cost Efficiency: Ignoring the damage could lead to more severe issues, increasing the overall repair costs.
- Resale Value: A properly repaired shutter is crucial for maintaining your van’s resale value.
Be proactive in arranging permanent repairs to avoid unnecessary expenses and risks down the line.
Bonus Tips for Preventing Shutter Damage
Prevention is always better than cure. Reduce the chances of a broken shutter with these tips:
- Choose Safer Parking Spaces
Park in well-lit, covered areas to lower the risk of accidental or intentional damage.
- Regular Maintenance Checks
Inspect the van’s shutters periodically for signs of wear and tear to identify potential issues early.
Following these steps can save you a lot of time, stress, and money in the future.
Conclusion
Don’t leave your van and its belongings vulnerable. By temporarily covering a broken shutter, you protect your investment and avoid additional damages. Follow this step-by-step guide to craft a sturdy, weatherproof cover, and remember to arrange for a permanent fix at the earliest opportunity.
Safeguard your van now, and keep it road-ready for the journeys ahead!
FAQs
How do you temporarily secure a broken car or van window?
Use duct tape and heavy-duty plastic sheeting to seal the window. Ensure a proper fit by cleaning the area, cutting the material to size, and smoothing as you tape.
Can I drive with a plastic cover on my broken van window or shutter?
Yes, but only cautiously and at low speeds. Ensure the cover is secure and routinely check it during long trips.
What materials are best for temporary repairs?
High-density plastic sheeting or tarp is ideal for visibility, durability, and weatherproofing.
How long can I use a temporary cover?
Temporary covers are generally suitable for 1–2 weeks. Arrange for a permanent repair as quickly as possible.
Will tape damage my van’s paint?
Duct tape can potentially harm paint. Use masking tape with foam padding to protect the edges when possible.